How to Build Your Own Golf Clubs and Save Hundreds
Thinking about building your own golf clubs? Here's your step-by-step guide plus cost analysis
You don’t need to be an engineer to build your own golf clubs. In fact, building your own clubs is a great way for cost-conscious players to get new clubs in the bag at a fraction of the cost. It gives gearheads an opportunity to build a set to the exact specifications they want, and gives hobbyists a hands-on way to get personal with their clubs.
If you’ve never considered club-building, here’s a quick anecdote that illustrates the benefits. I’ve always struggled to hit 3-wood consistently, but I somehow find the sweet spot of my 13-year-old 5-wood seemingly every time. I was ready to give up on 3-woods completely, but the problem is my distance gap between driver and 5-wood is 50 yards. That’s just too much.
Before I gave up on 3-woods entirely, I built my own to match (or come close to) the 5-wood specs that I hit so well.
The 3-wood I built to my preferred specs is 20 yards longer than my 5-wood and is more accurate than my driver
Building it myself, I had the opportunity to match the length and swingweight of my 5-wood, and the result is nothing short of perfection. The 3-wood is 20 yards longer than the 5-wood it complements, hits the fairway significantly more often than driver, and the misses are much less severe. I only give up 30 yards to driver, instead of 50, which gives me more options off the tee.
Plus, since I built it, I feel an extra sense of pride when I stripe one down the center. Not to mention, it cost me less than half of what I would have paid for an off-the-rack 3-wood from one of the major OEMs.
So if building your own golf clubs has the budget-conscious player, gearhead, or hobbyist in you intrigued, this guide will lay out everything you need to know. From where to find quality components, to the parts and tools you need, to the steps to assemble your own clubs, we’ve got your build covered.
Supply List to Build Your Own Golf Clubs
Before you build your club or your set of clubs, you need all the components and all the tools. Here are complete lists of what you need in each department. The truth is, you can build golf clubs with a relatively low investment into tools and supplies.
Components Checklist:
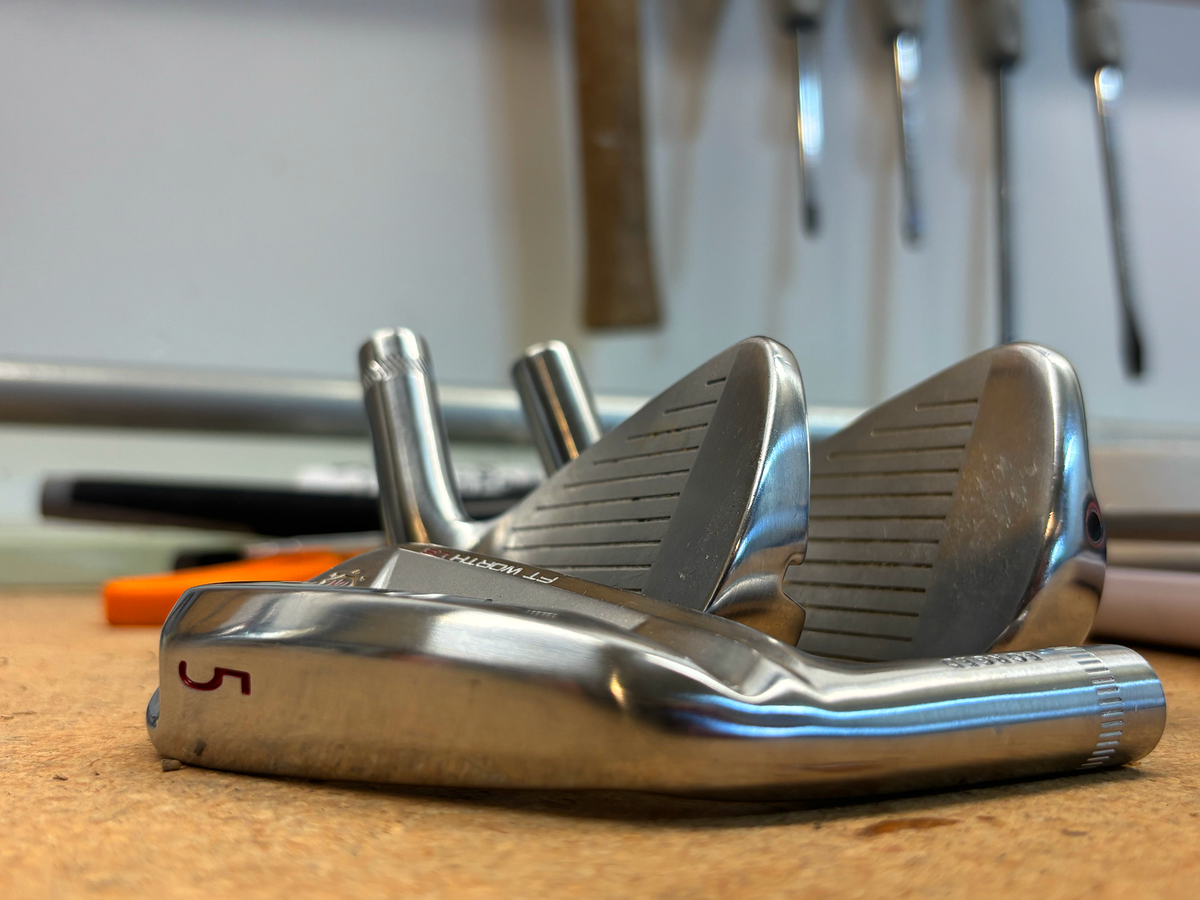
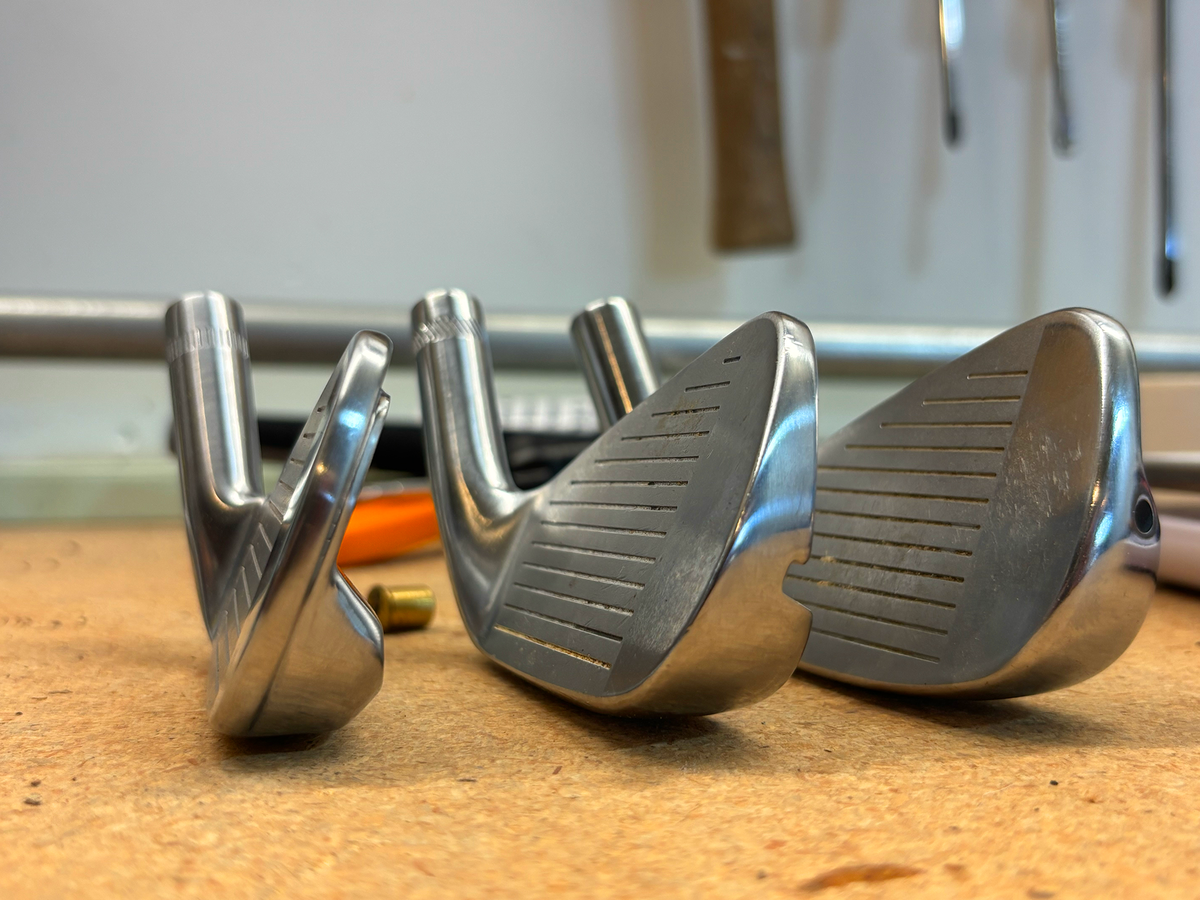
- Club head: Irons, wedges, driver, woods, etc.
- Shaft: Steel or graphite, select the right flex and launch profile to match your goals for the specific build
- Grip: Select the proper size, materials and texture to fit your preferences
- Ferrule: Traditional or unique? The choice is yours
Tools and Supplies Checklist:
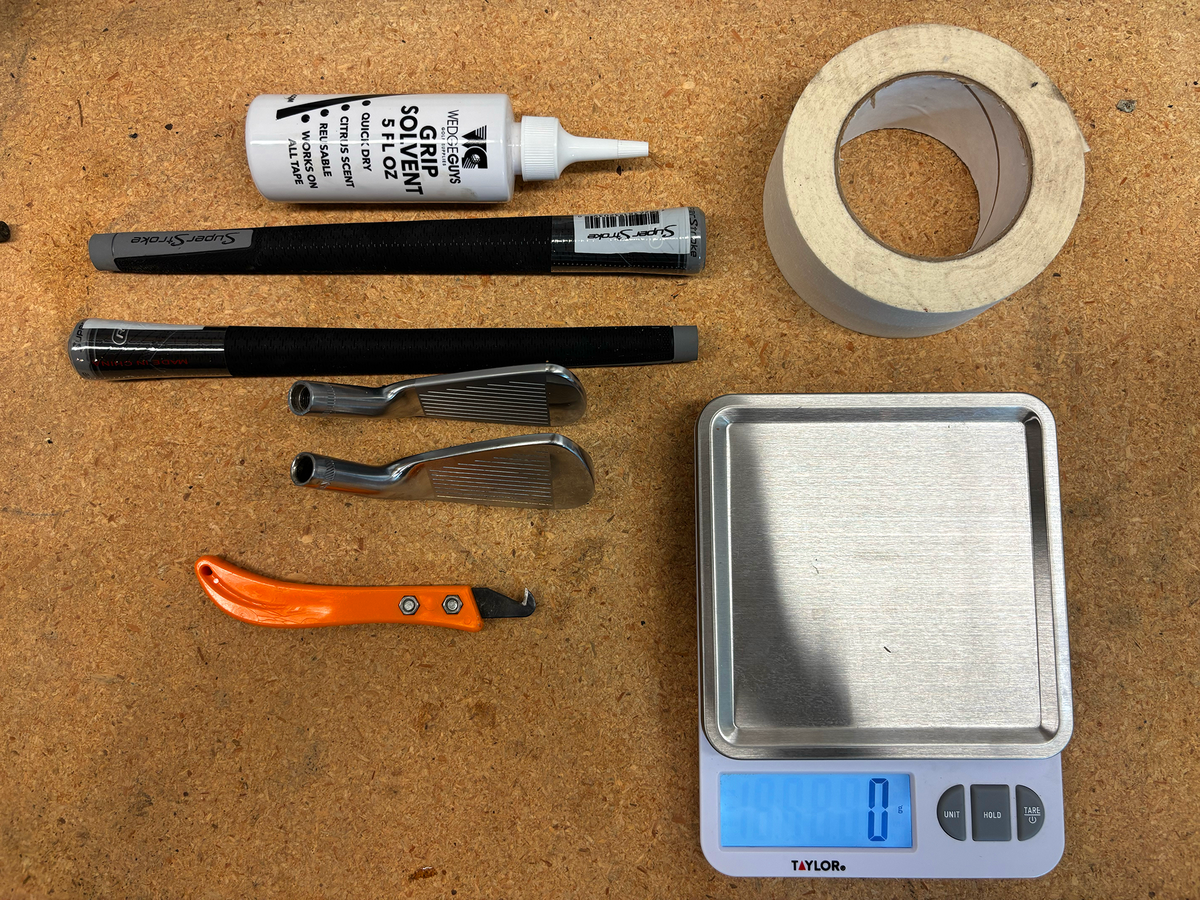
- Epoxy: Two-part epoxy designed for golf clubs
- Grip tape and solvent: Required to install grips
- Vice and shaft clamp: To keep clubs in place while gripping
- Ruler or club-length gauge: I use a 48-inch metal ruler to cut shafts to the correct length
- Shaft cutter (rotary tool or pipe cutter): You’ll need this if you're not using pre-cut shafts
- Wire brush: This is used to clean and prep the inside of the hosel on the club heads
Optional tools that are nice to have:
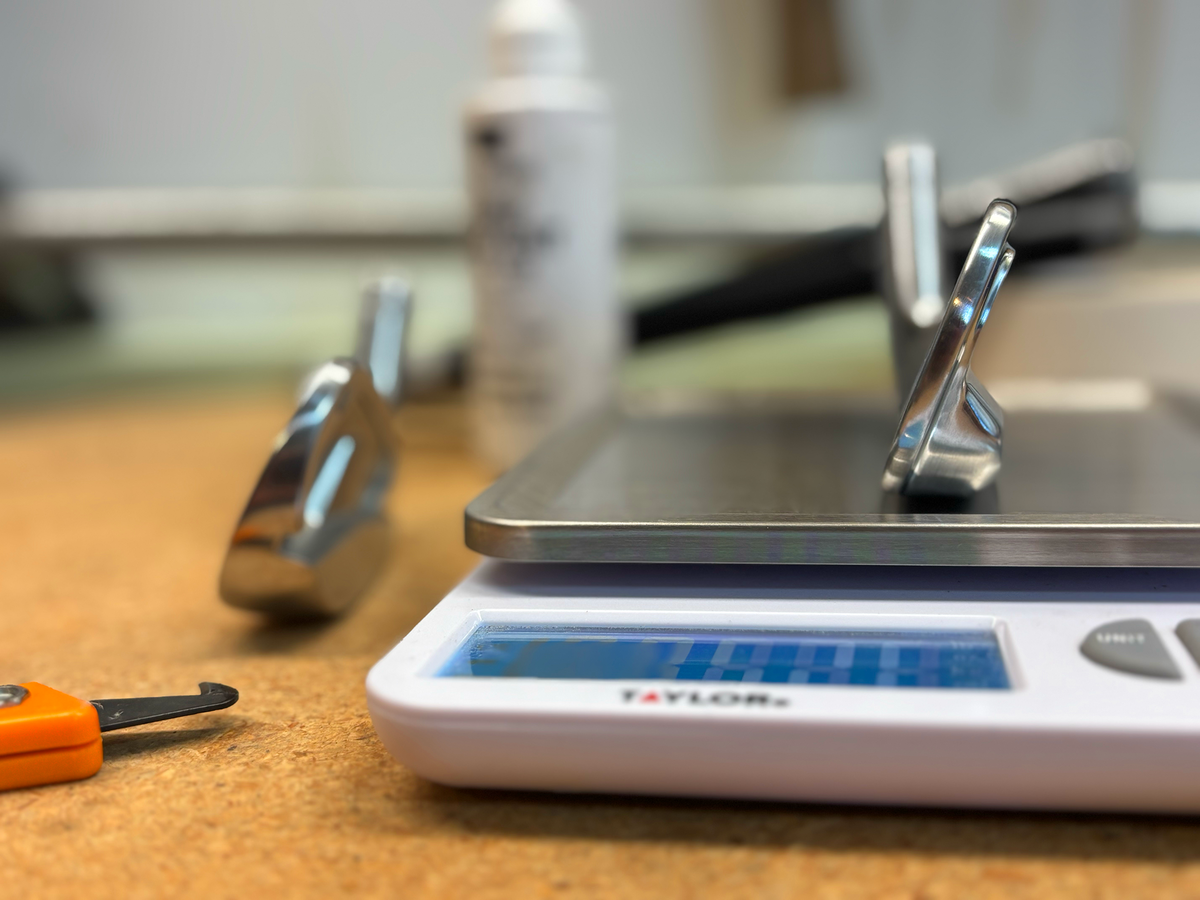
- Swing weight scale: If you’re going to build clubs more than once, this might be a worthwhile investment for fine-tuning feel and balance
- Lead tape or tip weights: Use these to manipulate the swing weight or test different swing weights
- Torch or heat gun: If you’re removing a head from a steel shaft, you’ll need this to melt the epoxy and remove the head
- Gram scale: It helps to weigh your components before assembling
- Belt sander: Used to prep shaft tips and turn down ferrules most efficiently. Alternatively, sandpaper can be used to prep by hand.
Helpful Hack
You can often order shafts pre-cut to a specific length for a few dollars extra, which can eliminate the most expensive mistakes you could make while building. In lieu of a swing weight scale, you can input component specs into a swingweight calculator and get a calculated swing weight. This is free, but not as accurate.
Shopping Components
SHOP GOLFWORKS
SHOP MACGREGOR
SHOP BEN HOGAN
SHOP SUB 70
SHOP NEW LEVEL
SHOP RAM GOLF
SHOP HAYWOOD GOLF
Most direct-to-consumer golf club brands offer the opportunity to purchase heads only, and you’ll love the savings you see compared to purchasing assembled clubs.
If you like the shafts you already have, buying heads only and putting them on your current shafts is a great way to save a bundle on an otherwise brand new set of sticks. Throw new grips on there for a completely new feel at half to a third of the cost you’d otherwise spend.
Even if you do assemble entirely new clubs, shaft, ferrules, and all, you’ll save a bunch of money.
If you’re shopping for the whole shebang, I’ve had the best luck with The GolfWorks. They offer all the components and tools you need and are very responsive to questions, whether you’re a novice or an experienced builder.
Step-By-Step: How to Build a Golf Club
Here are the seven steps to building a golf club. It may sound like a lot, but no step is complex or complicated as long as you have a plan and use the right tools.
- Step 1: Make a plan
- Step 2: Select components
- Step 3: Dry fit components
- Step 4: Prepare components
- Step 5: Epoxy and assemble
- Step 6: Finishing touches
- Step 7: Install grips
Step 1: Make a Plan
One of the fun parts about building your own golf clubs is the opportunity to tinker with different specs that you may have a hard time finding off the rack. However, that’s also potentially the most dangerous part of building your own clubs.
When you were a kid, did you ever mix every flavor of soda in your cup at a fast food restaurant, and wonder why nobody had invented that “flavor” before? The people who engineer golf clubs for a living are pretty smart. If you can’t find a specific and unorthodox spec, it could be because it just doesn’t work, not because nobody has thought of it before.
When I built my 3-wood, my goals were simple. Build it as close to my 5-wood length and swingweight as possible, hit it at least 15 yards farther than that 5-wood, and more accurately than my driver. In order to get the swingweight spot on, I settled for a quarter-inch longer than my 5-wood, and everything else worked out as I’d hoped.
Step 2: Select Components
Get fit, or at least have a session on a launch monitor to learn your swing speed, shot shape tendencies, spin rates, and launch and descent angles. Figure out what your priorities are, what specific improvement you’d like to see, and how the components and specs you select can help.
When you’re choosing your components, consider your goals and work backwards from there. Are you chasing distance, accuracy, or consistency?
Figure out what your current club or set is doing right that you want to keep (shaft flex or loft structure, for example), and what you’d like to improve (forgiveness, workability, distance, etc.).
In addition to flex, most shaft models will describe the trajectory you can expect it to produce, which, can help you build a set tailored to your goals.
Speaking of shafts, you’ll also want to pay close attention to the shaft weight. Iron shafts alone can range from 80 grams or less up to 130 grams, and weight impacts feel, trajectory, swingweight, swingspeed and ball striking.
You can also use the shaft weight, club head weight, and grip weight to calculate swing weight, at least to get a ballpark figure.
There’s more to selecting components than buying heads and shafts. You need to make sure the shafts and heads you buy fit together. It would be too easy to have one tip size that fits all club heads, so instead, here are the sizes you’re most likely to come across:
- .355” Tapered: Common in irons
- .370” Parallel: Also common in irons
- .335”: Standard for woods and drivers
- Hybrids: Could require any of the above; double-check the specs
Step 3: Dry Fit
Once you have all your components and all the tools you need, it’s time to piece together this little puzzle.
Once your heads are cleaned and shafts are cut (at least at the tip, if needed), place the shaft in the head without epoxy and ensure you have the desired playing length. If you need to cut the butt of the shaft, this is the time to measure the club in its assembled state and mark where you want to cut it.
Remember to cut the butt of the shaft about ⅛ of an inch shorter than your final desired playing length to account for the butt of the grip that will be installed later.
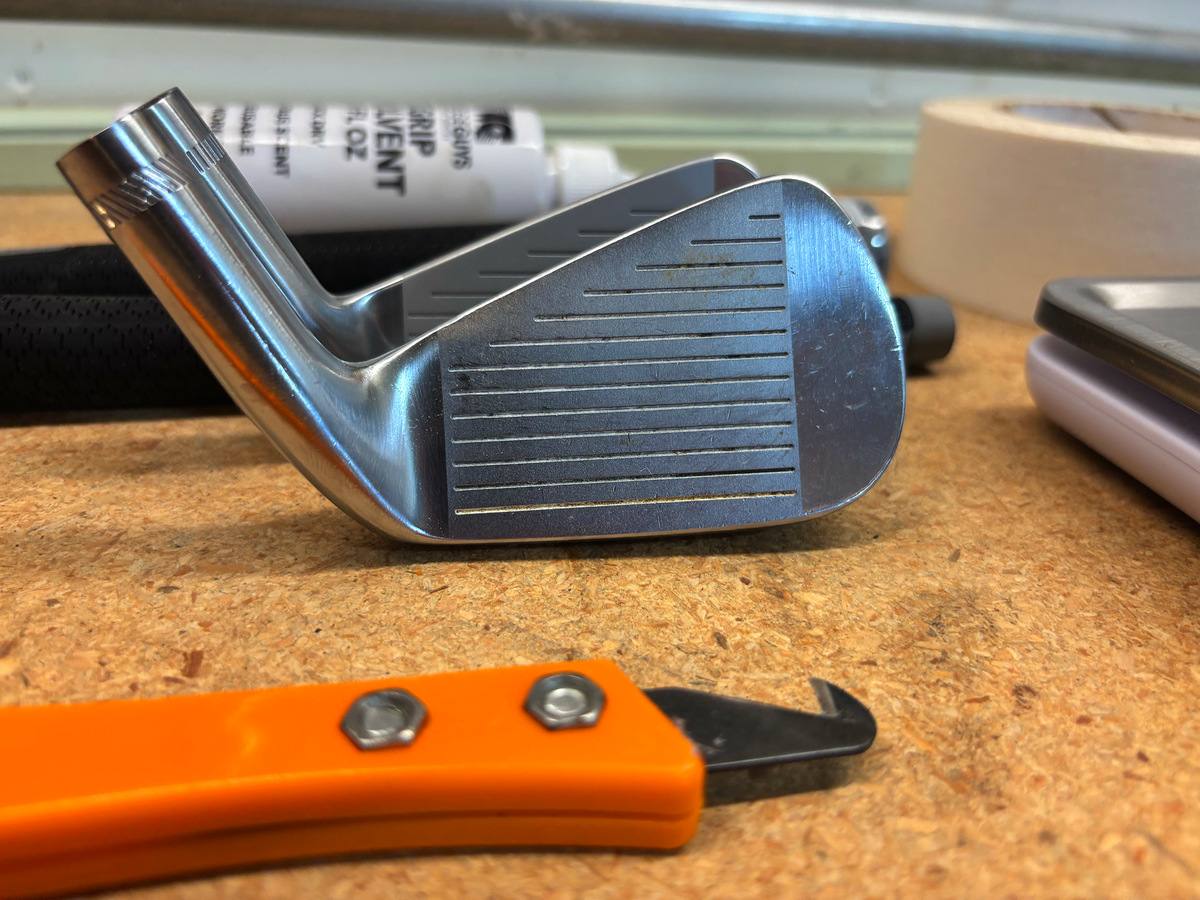
Step 4: Prepare to Assemble
Once everything is cut and ready to be assembled, the next step is to prep the tip of the shafts. On steel shafts, sand the tip using a belt sander or sandpaper to rough it up. Mark where the hosel of the club head ends on the shaft so you don’t sand too far up the shaft where it will be visible after assembly.
On a graphite shaft, remove the outer layer of paint on the shaft.
This ensures the tightest possible bond with the epoxy.
If you have a swing weight scale, now this the time to put your dry-fit components onto the scale. Attach the grip to the butt of the club using a rubber band so it’s accounted for in the swing weight. If you need to adjust the weight to achieve your desired swing weight, use tip weights.
Step 5: Epoxy
Mix your two-part epoxy and use a mixing stick, toothpick, or golf tee to coat the inside of the hosel with epoxy.
Next, put a thin layer of epoxy on the tip of the shaft and slide the ferrule down the shaft. This will smear some epoxy under the ferrule and prevent it from sliding up the shaft over time.
Then, ensure the tip has a thin, consistent layer of epoxy and slide the head into place.
Make sure the tip of the shaft goes all the way into the hosel and, holding the head of the club, gently tap the butt on the ground to make sure it’s fully secure.
Using a paper towel and a little grip solvent, wipe down the hosel and ferrule to clear away all excess epoxy from that joint.
Helpful Hack
Always follow the recommended drying times and temperatures before using your new clubs
Step 6: Finishing Touches on the Head
Once the epoxy is dry, you’re clear to put a couple finishing touches on the head side. This includes any loft or lie adjustments you want to make, and lastly, turning down the ferrule.
Step 7: Add the Grip
Once your club is assembled and finished, it’s time to install the grip. If you’ve never installed grips before, we have a complete how-to guide on that process, but it’s more or less as simple as putting grip tape on, adding solvent to the grip and the tape, and sliding the grip on in the proper alignment.

How to Regrip Your Golf Clubs for Under $100
Cost Breakdown: Buying vs. Building
There are a million variables that will play into your final costs, but ballparking it, you can expect to save roughly 50% on golf clubs that you build yourself compared to buying off the rack from one of the major OEMs.
If you’re able to use the shafts you already have, you can save a lot more than that. The same goes for folks who already have the supplies and tools needed.
Here’s a more detailed breakdown of what you could expect to pay for off-the-rack clubs from a retailer compared to building clubs yourself.
|
Club |
Retail |
DIY Club Building |
|
Driver |
$500-$650 |
$200-$300 |
|
Woods |
$300-$350 each |
$125-$225 each |
|
Hybrids |
$250-$300 |
$100-$200 |
|
Iron Set |
$800-$1600 |
$350-$600 |
|
Wedges |
$150-$200 each |
$50-$75 each |
|
Putter |
$200-$400 |
$90-$150 |
|
Grips |
$0 |
$3 - $15 each |
|
Tools & Supplies |
$0 |
$0 - $75 |
|
14 Club Set |
$2,750 - $4,250 |
$1,150 - $2,200 |
Is DIY Worth a Try?
There are some pretty enticing reasons to build your own golf clubs. You can save a lot of money, build a set tailored to your game, and find a new hobby. Who knows, you might even end up with your own side business if you build a good set and start beating your playing partners on the course.
However, there’s also risk involved in building your clubs. You could invest hundreds only to make a costly mistake along the way or end up with a set that seemed good on paper but doesn’t produce the results you wanted.
Club building is not for everyone, but for players who like tinkering, want to save money on clubs, or are curious about assembling their own equipment, it’s a fantastic DIY project that can end up helping your game. I know from experience.