A Step-By-Step Guide to Perfect Golf Driver Stance
Follow these easy steps to get into the proper golf stance for driver

Having played golf most of my life, driver stance is second nature to me. As a former tour pro, the driver was my favorite club and still is to this day. I assume you’re like me — and every golfer I teach — and want to bomb your driver down the center as far as possible.
It is such a rewarding feeling to stripe the ball down the middle of the fairway. In order to make this happen, it’s crucial you have the proper stance and ball position before teeing off.
As a golf instructor, proper driver stance is vital and I address it daily with my students. It’s that important. Whether I’m working with a beginner or a veteran player, I evaluate their driver stance and ball position—tweaking it when necessary.
Your driver is the longest club in your bag (with the exception of a belly putter), and it has the least loft of any club (besides the putter). These driver specs, combined with the driver’s oversized head, are designed to help you hit the ball on the center of the club face, at the proper launch angle, and with the correct spin rate. This in turn, allows you to hit it straight and far.
Here's how to take a proper driver stance to take advantage of the characteristics of your driver.
3 Keys to the Proper Driver Stance & Set-up
There are three keys to the perfect driver stance. Each step is simple, and when you can execute them without thinking about it, you’ll gain distance, accuracy, and consistency with your driver.
- Ball position
- Hip hinge & knee flex
- Posture & balance
Step 1: Ball Position

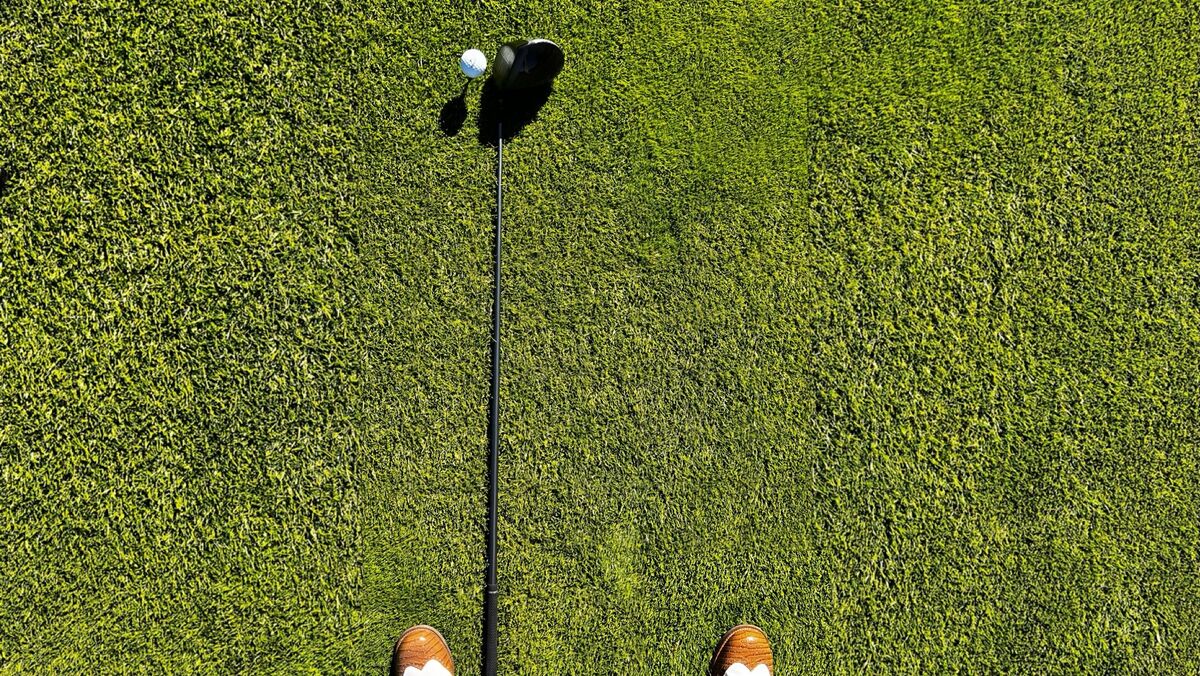
Begin by addressing the ball with your feet together and the ball on the line between your big toes. Take a mini step toward the target with your lead foot, then take a big step backward (away from the target) with your trail foot. At this point, your feet should be wider than shoulder-width and outside of your hips, and the ball should be quite forward in your stance, much closer to your lead foot than your trail foot.
Your feet do not need to be completely parallel to each other. Instead, flare your toes outward, making somewhat of a triangular base. Flaring your feet allows you to stay down through the shot and transfer the full velocity of your club head at impact.
Step 2: Hip Hinge & Knee Flex
Next, hinge forward from your hips as if you were taking a bow. As you lean closer toward the ball let your arms hang naturally from your shoulders. This is where your hands should meet the grip of your club. If you are unsure of this location, check to see if you can fit your trail hand (with fingers spread apart) between your thigh and the grip. Adjust accordingly by either moving closer to or further away from the ball.
Flex your knees enough to feel you are in an athletic position with weight on the ball of each foot.
Step 3: Posture & Balance
Now, create a “reverse K” position by slightly tilting your lead ear up. This tilts your spine slightly away from the target and tilts your trail shoulder a bit lower than your lead shoulder.
Check your weight distribution. You should have a tad more pressure on your trail foot, about 55%, and the remaining 45% on your lead foot.
Hover your driver head in the air just above the grass. This helps you find the correct grip pressure and creates a smooth takeaway.
Now you look like a pro!
The Importance of Ball Position & Tee Height for Driver

Ball position is important because it directly effects ball flight. Having the correct ball position allows you to catch the ball on the upswing, which optimizes ball flight and maximizes distance. We must catch the ball after the lowest point of our swing to take advantage of the driver’s precisely engineered center of gravity (the sweet spot).
As I mentioned above, the ball position for the driver should be forward in your stance. The ball should be positioned forward enough in your stance that you catch the ball on your upswing. The best way to check your ball position is to lay your club down on the ground in line with the ball and perpendicular to the target line. The grip should touch the inside of your lead heel.
Once you tee up the ball, address it with the center of the club face. There's an alignment aid on the crown of most drivers to give you visual feedback on where exactly to address the ball.
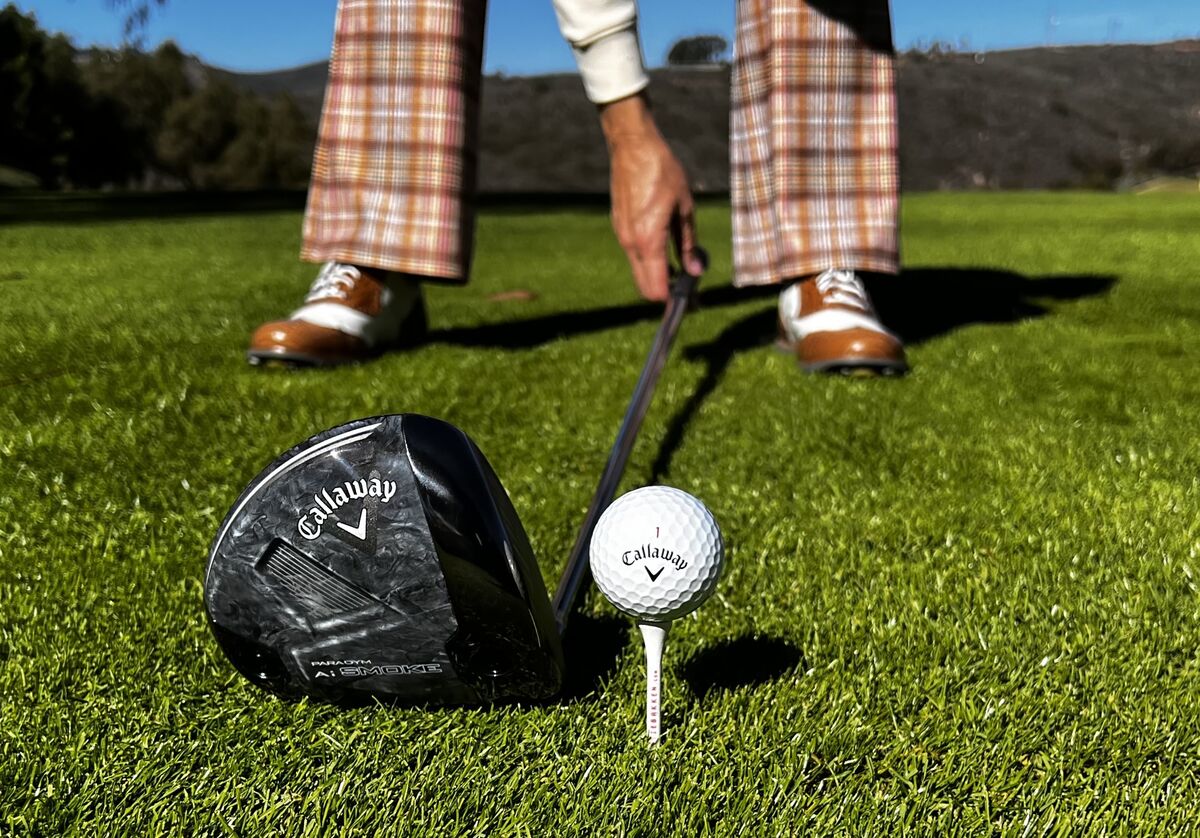
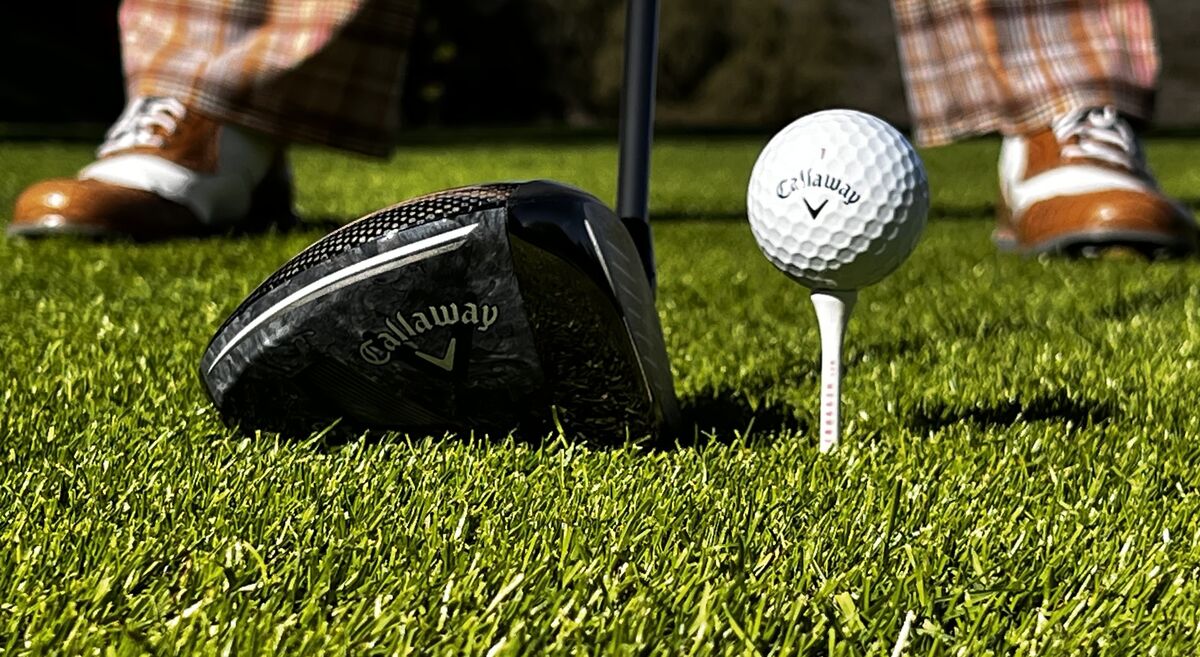
Check your tee height. The ball should be teed high enough that the top edge of the driver head is at the center, or equator, of the ball. Half of the ball should be above the top edge of the driver head and the other half below the top edge of the driver head.
It’s important to tee the ball at this height so you can catch it as your swing is trending upward. Teeing the ball the same height every time will also improve your consistency off the tee.
Checkpoints for Proper Driver Stance

Check your ball position by laying your club on the ground behind the ball and perpendicular to the target line. The grip should run inside of your lead heel.
Here are five easy checkpoints that will help you make sure you have the proper stance to hit driver every time.
- Tee height: The top of your driver is aligned with the ball’s equator at address
- Ball position: The ball is off your lead heel
- 3 Bs of Posture: Bend knees slightly, Bow from your hips, Balance (55% on trail foot)
- Reverse K: Spine tilts away from the target
- Hover Driver: Float it above the grass to find ideal grip pressure
Bombs Away!
Today's drivers are designed to help golfers launch the ball at an angle that creates ideal spin, resulting in maximum distance. To take full advantage of all your driver has to offer and to reach your driving potential, proper driver stance and correct ball position are key.