How to Wire a Golf Cart Battery
Updated November 10, 2021
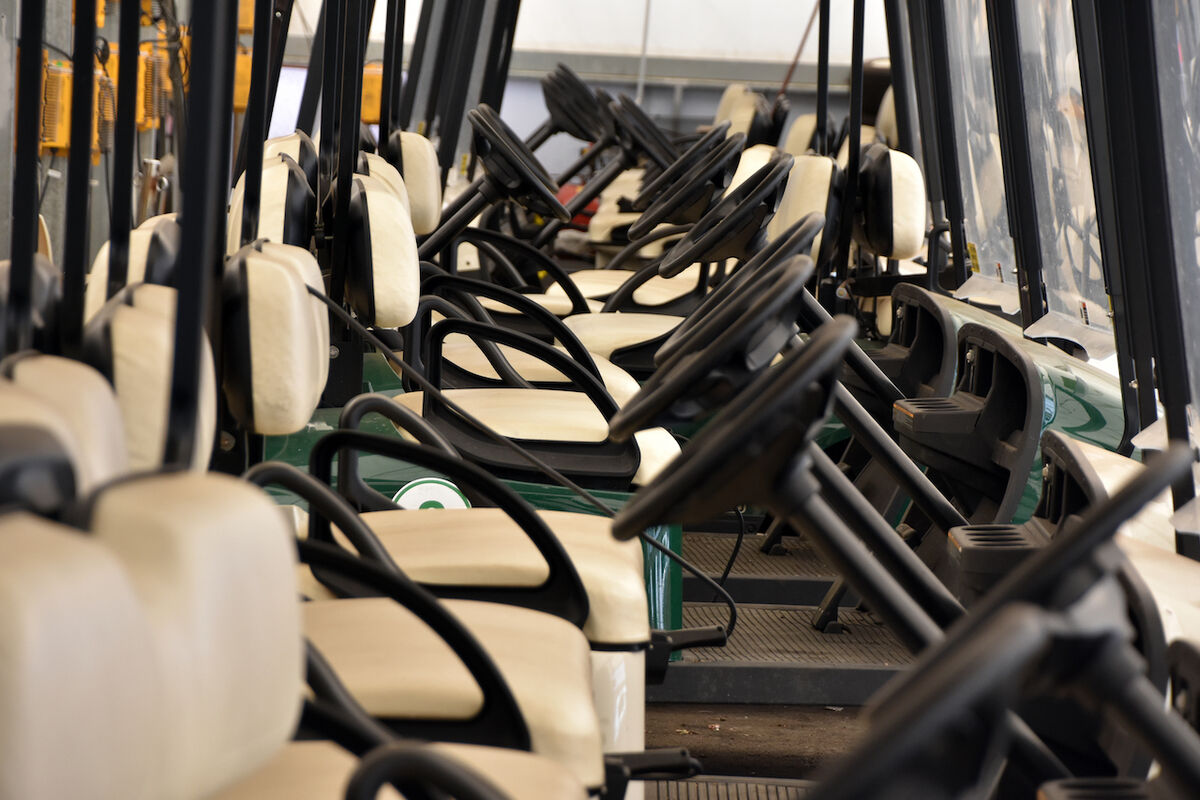
Electric golf carts are normally run by a bank of six batteries, depending on what model car you have purchased. The batteries are designed to provide a sustained charge to support propulsion of the cart over the duration of a playing day. Because the batteries are installed in a battery bank, their wiring differs from an automobile. A common task for golf cart owners is having to wire golf cart batteries when replacing them or removing for cleaning.
Instructions to Wire Golf Cart Battery
- Open the battery compartment of your golf cart by lifting the seat out of the cart. Golf cart battery banks are normally located beneath the seat of the cart.
- Remove the black negative cable from the first battery in the bank followed by the subsequent positive wire. You will do this for each battery in the bank in the same order moving from forward to rear in the battery bank.
- Lift the batteries that require removal from the battery bank. Some battery banks are designed to hold each battery in place with a battery clip that will require a basic wrench to remove the securing nut and washer from the bracket.
- Place the new batteries into the bank in the same position the battery that you removed was sitting. Re-secure the securing brackets for each new battery.
- Reconnect the battery cables to the batteries in the bank. The main positive lead for the battery bank coming from the frame of the cart will connect to the positive terminal of the first battery in the bank. Then, connect a cable from the negative terminal of the first battery to the positive terminal of the subsequent battery in the bank. Continue connecting the negative terminal to the next positive terminal until all batteries are connected. The last battery in the bank will have a connection from its negative terminal to that of the frame or golf cart controls.
- Connect the reverse positive cable to any of the positive terminals on the battery bank. This will be the extra positive cable that you disconnected when removing the batteries. This is the cable that powers the engine when the cart moves in reverse.
Advertisement
How to Disconnect Golf Cart Batteries
Golf cart owners often have to disconnect the batteries for cleaning and maintenance.
Instructions
- Put on your acid-resistant work gloves before starting the battery removal process.
- Disconnect the battery bank positive lead from the positive golf cart body main power connection with the wrench. After the positive lead is disconnected, then disconnect the battery bank's ground wire from the primary golf cart body connection.
- Remove the connection from the first battery in the bank's positive terminal that is connected to the subsequent battery's negative terminal. Then, move to the next battery and follow the same steps until all of the batteries in the bank are disconnected from each other.
- Lift the batteries from the bank one at a time and place on a level surface away from the golf cart.
Advertisement