DIY Golf Simulator Setups to Build Skills on a Budget
So you’ve decided to build out your own golf simulator. Congratulations! Even with a small budget, you can manage to be the envy of all of your friends by going the DIY route with your simulator. In fact, it’s never been easier to acquire all of the appropriate components to complete your own golf simulator. Here are some tips and things to consider with your DIY simulator project to help get you swinging right away.
Determine Your Budget
Just because a project is deemed DIY doesn’t mean it won’t cost some money, especially with a golf simulator. You can easily find a total package simulator like you would see in a golf retailer for $15,000 or more, but that’s not financially possible for a lot of people. Your personal simulator should have a budget that you’re comfortable with. At a minimum, a DIY simulator project will cost you around $2,000 so keep that in mind.
Assess Your Space
It’s one thing to have the finances for a golf simulator, but it’s another to have the space. Typically, a setup like a golf simulator is best located in a basement or garage to fully avoid any chance of it running into inclement weather. No matter where it’s going, you’ll want a minimum of 10 feet deep, 10 feet wide, and 10 feet tall to accommodate all of the equipment and enable you to swing every club in your bag.
It’s also wise to avoid a space that has a lot of direct sunlight, as that will create visibility issues for the projector and screen.
What You’ll Need
Here is a comprehensive list of what you’ll need to purchase in order to get your golf simulator off the ground and running.
Golf Simulator Unit
It’s important to know the difference between a device that has simulator capabilities and a device that only has launch monitor capabilities. A simulator unit will typically be more expensive and showcase that it has golf courses and other virtual options. A launch monitor is less expensive (starting around $300) and it will only show you statistical data from your golf swing.
The technology aspect of your DIY simulator is going to be the most or second-most expensive part no matter how you shop it.
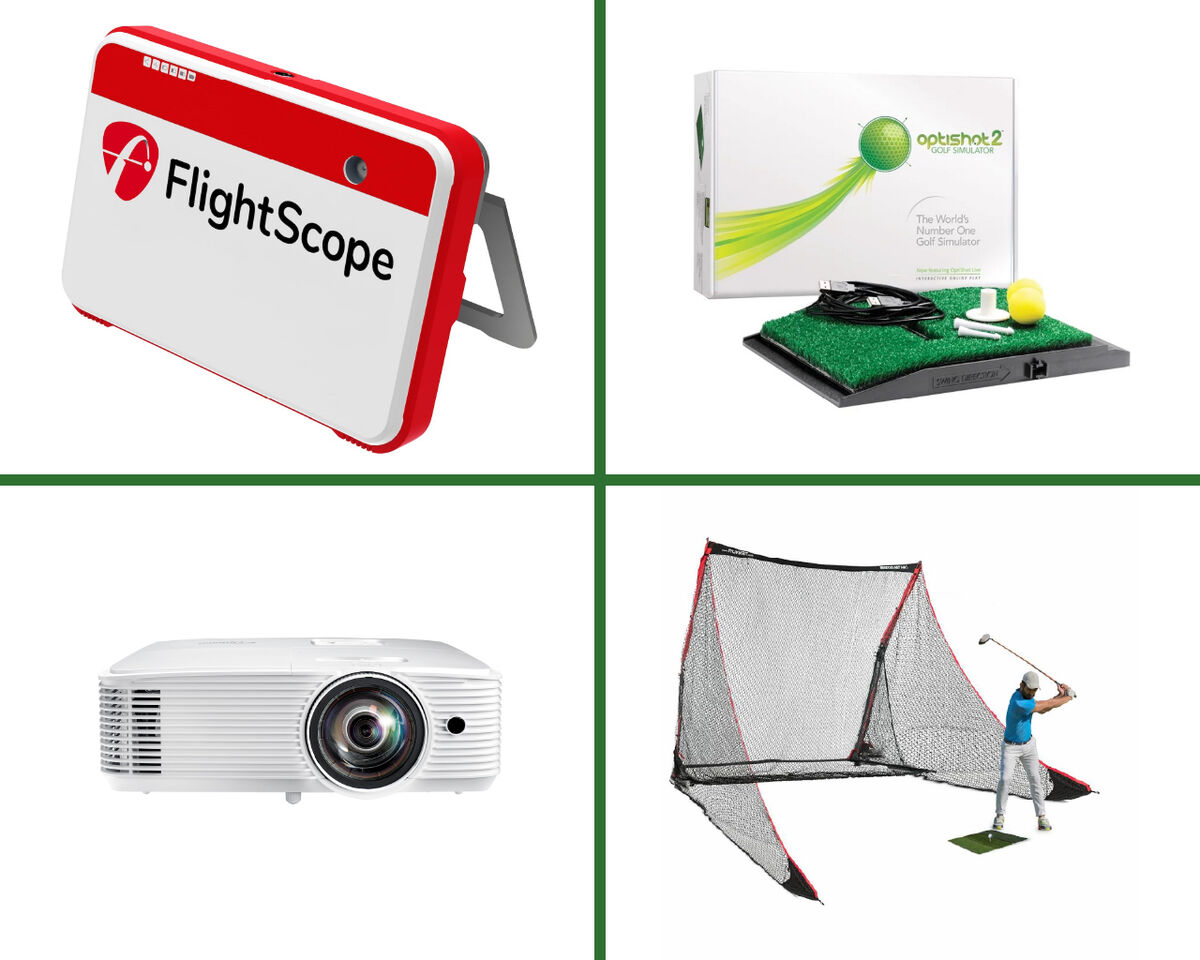
The FlightScope Mevo+ is a great technology option because it fits the bill if you’re looking to play simulated golf one day and practice another. The Mevo+ uses 3D Doppler technology and gives you tons of statistical data while also providing the option of playing five different golf courses and 17 different virtual practice ranges. At $1,800 it gives you the total package, just build around it.

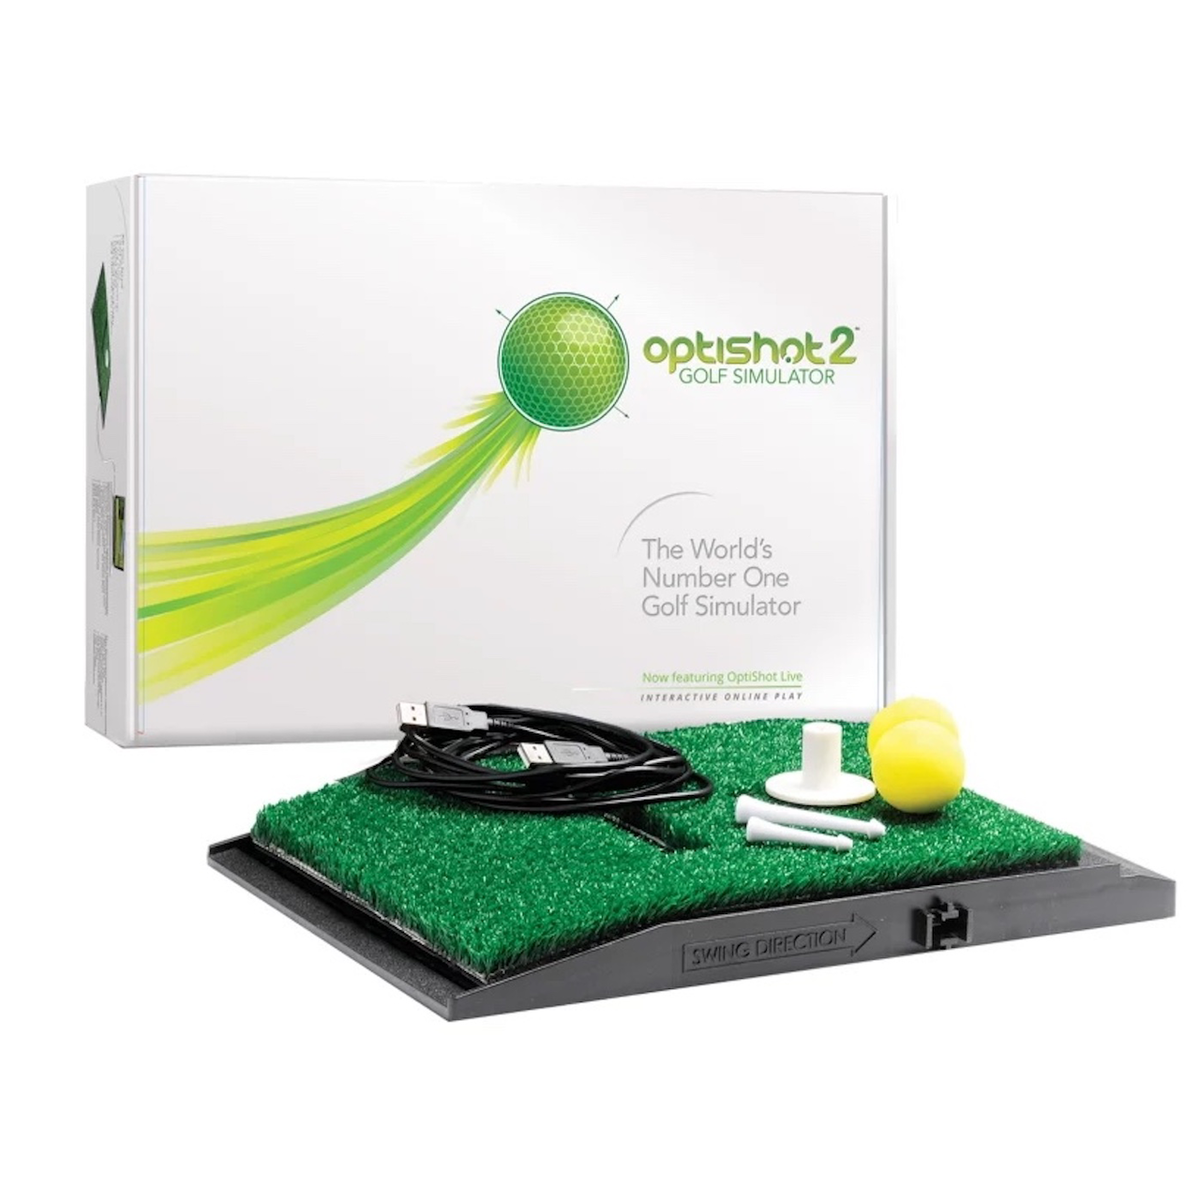
For $449 you can purchase the OptiShot 2 which is a piece of artificial turf that acts as a housing to 16 infrared sensors that capture all of the impact data from your golf swing. Simply plug the OptiShot 2 into a computer and mirror the screen to the projector and screen you’ve purchased for your simulator.
Projector
The most important thing to remember when purchasing the projector for your simulator is to not cheap out on lumens. Every projector will list this number and the sweet spot is around 3,000 lumens. You can get away with a projector that’s only 2,000 lumens, but your space will need to be dimly lit. The recommended 3,000 lumens allows for a moderate amount of surrounding light.
Also, since you’re purchasing a projector anyways you should make sure it has features such as Bluetooth, 5G capability, and remote control. This all comes in handy should you choose to use it for other things such as TV or a work meeting.
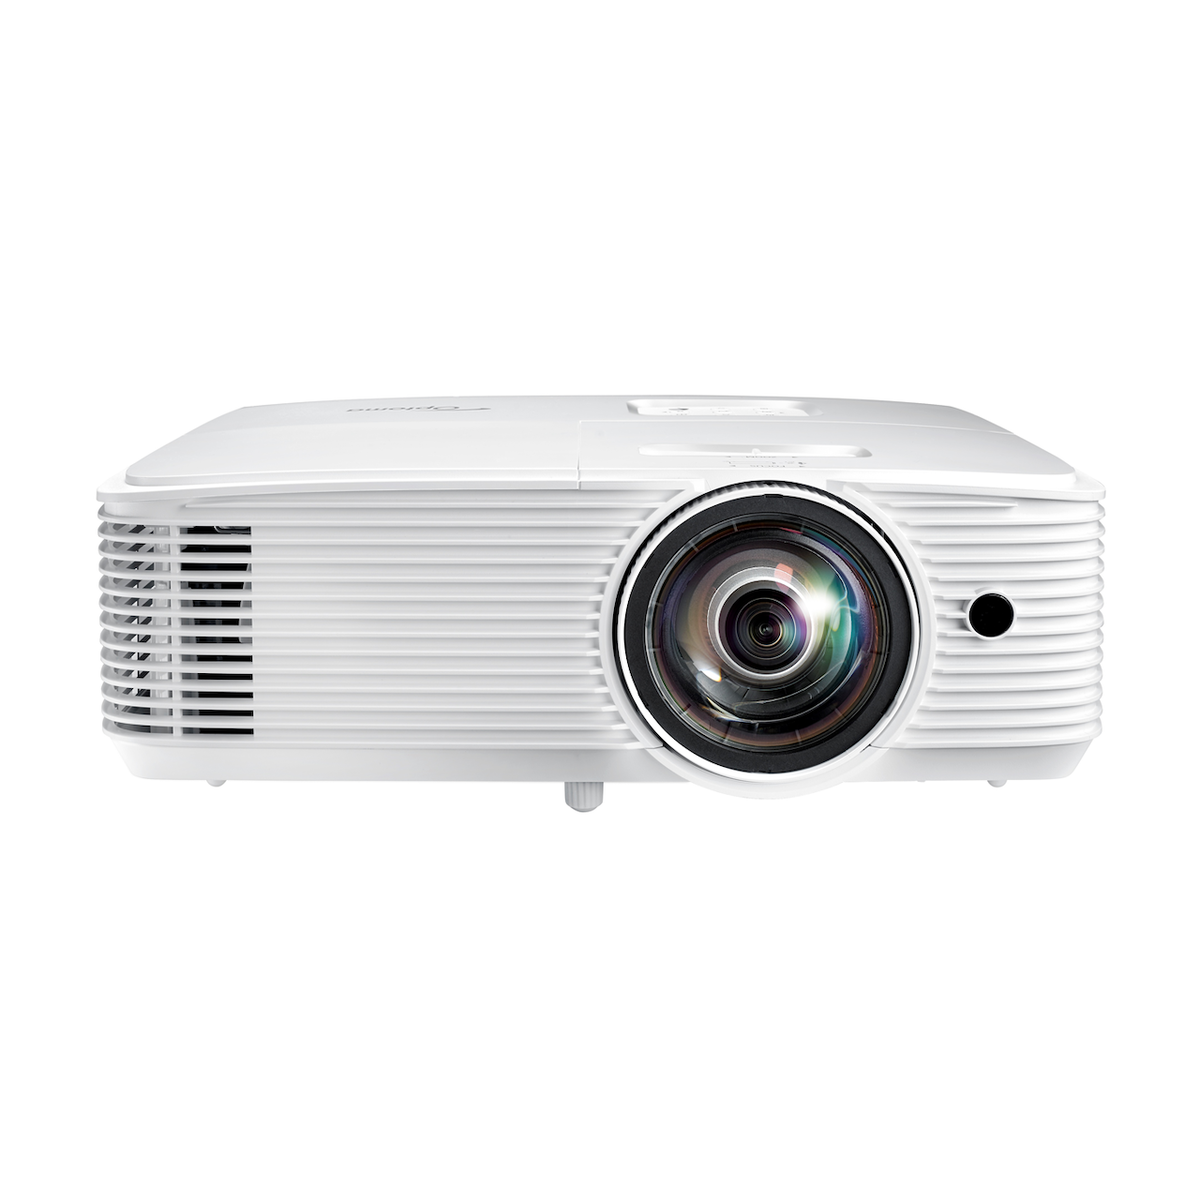
This Optoma XGA Short Throw Projector is 3,300 lumens and at $649 it provides a crisp picture to watch all of your shots virtually sail.
Screen
For your screen, it’s important to look for something thick and durable. This should go without saying, but you cannot simply set up a standard projection screen like the ones you had in your high school. You need an impact screen for your DIY golf simulator so it can absorb the golf shots you hit into it.
This impact screen from TheTerakart comes in a variety of different sizes which is nice because it can be customized to your space. Depending on the size the cost runs between $110 to $430. Be sure that your impact screen fits inside of your netting.
Netting
The demand for golf-hitting nets has never been higher, so the number of choices available to consumers is a bit overwhelming. When shopping for a net to surround an impact screen and golf simulator, there are a few things to consider.
First, make sure you get yourself something that’s easy to set up and break down. Preferably something that has a carry bag and doesn’t just come in a box with no instructions. Also, if your space allows, look for a net that has some additional catch on the sides, just in case.
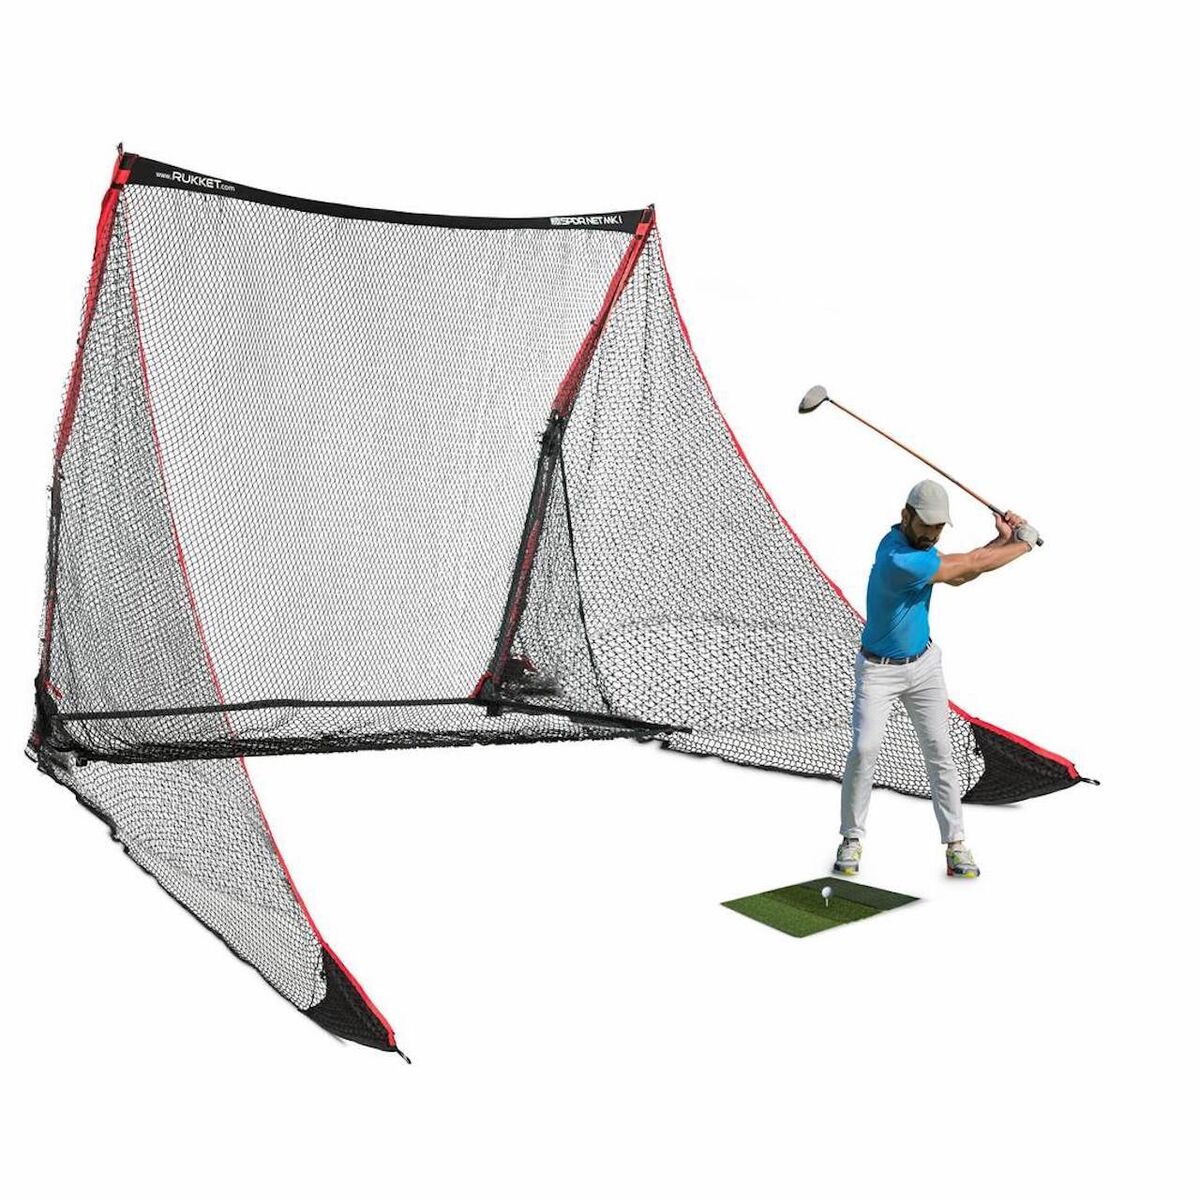
This net from Rukket is 7’ tall and 10’ wide, which should be able to accommodate any impact screen. It’s easily portable, includes a carry bag, and also has protective wing nets on the side for any shots that get away from you. For $300 it does more than just stay upright.
Mat
A good golf mat might get overlooked but is vitally important to the simulator experience. You will need to assess how much you anticipate using this DIY simulator. If it’s just something to do from time to time, a typical mat will work just fine. However, if you plan on using the simulator daily it would be wise to go with a commercial grade mat that holds up to the wear and tear.
One of the important aspects of a mat is the size. An ideal mat will be large enough for you to stand on and hit off of, which will ensure you're standing on the same level as your ball. The last thing you want to do is practice hitting a ball that's an inch above your feet all winter, then find in the spring you can't find the center of the club face.
This Commercial Grade 5' x 5' mat is a solid choice at $303. The mat includes a golf ball tray and three rubber tees.
Conclusion
Going off of the products listed above, you can successfully purchase and build yourself a golf simulator for around $2,000 with variable increases in price depending on your technology choice. This project should be enjoyable because, after all, it’s golf and you’re bringing the course to the comfort of your own home. If all goes well, be prepared for the neighbors to start knocking.