How to Make Golf Club Covers
Updated January 18, 2022
If you're inclined to write off golf club covers as unnecessary novelty items, consider the value of your entire set of clubs. Most sets cost hundreds or thousands of dollars, so it's definitely an investment worth protecting. Club covers can protect your clubheads from nicks, moisture and rusting. But you don't need to spend top dollar on retail; you can easily make your own from inexpensive materials.
Instructions
Difficulty: Moderately Easy
- Select and buy your materials. This is one of the most important steps, because you'll want to choose a fabric that is durable, non-abrasive and ideally water repellent. Good choices are heavy canvas, denim and upholstery fabric. You'll need about three square feet of fabric per cover. You'll also need one tube sock per cover. These are usually very inexpensive when purchased new, but this project is a great chance to recycle older, worn tube socks that are clean and in fair condition.
- Lay your fabric flat and face-down on a working surface. Use a yardstick and felt pen to draw the pattern onto the fabric then carefully cut it out with fabric scissors.
Cut one of these pieces for every club cover you want to make. To save time, you can cut out one pattern and then simply trace around it for the subsequent pattern outlines. - Fold and glue each pattern into a three-dimensional slipcover. To do this, you should only need to squeeze a single line of fabric glue along the back of each of the 14-inch sides. Carefully fold the pattern so that you can glue each of the 6-inch side flaps to the bottom of the 14-inch sides, then carefully fold the remaining length of the 14-inch sides onto the 8-inch sides. Practice this folding pattern without glue before trying it with glue. You may also find it easier to glue each side as you go rather than making both lines of glue first.
- Use scissors to cut each tube sock just above the heel so that you're left with the ribbed "neck" of the sock.
- Tuck the open side of a fabric slipcover into the cut end of the tube sock neck. Push the slipcover in so that about 2 inches of it are inside the sock.
- Peel back the cut end of the sock a little at a time, apply some fabric glue to the inside edge and press it back down onto the slipcover. Hold the sock and slipcover together until the glue is strong enough to hold, then continue moving around the circumference of the sock opening, gluing as you go.
- Repeat Steps 5 and 6 with the remaining slipcovers and socks.
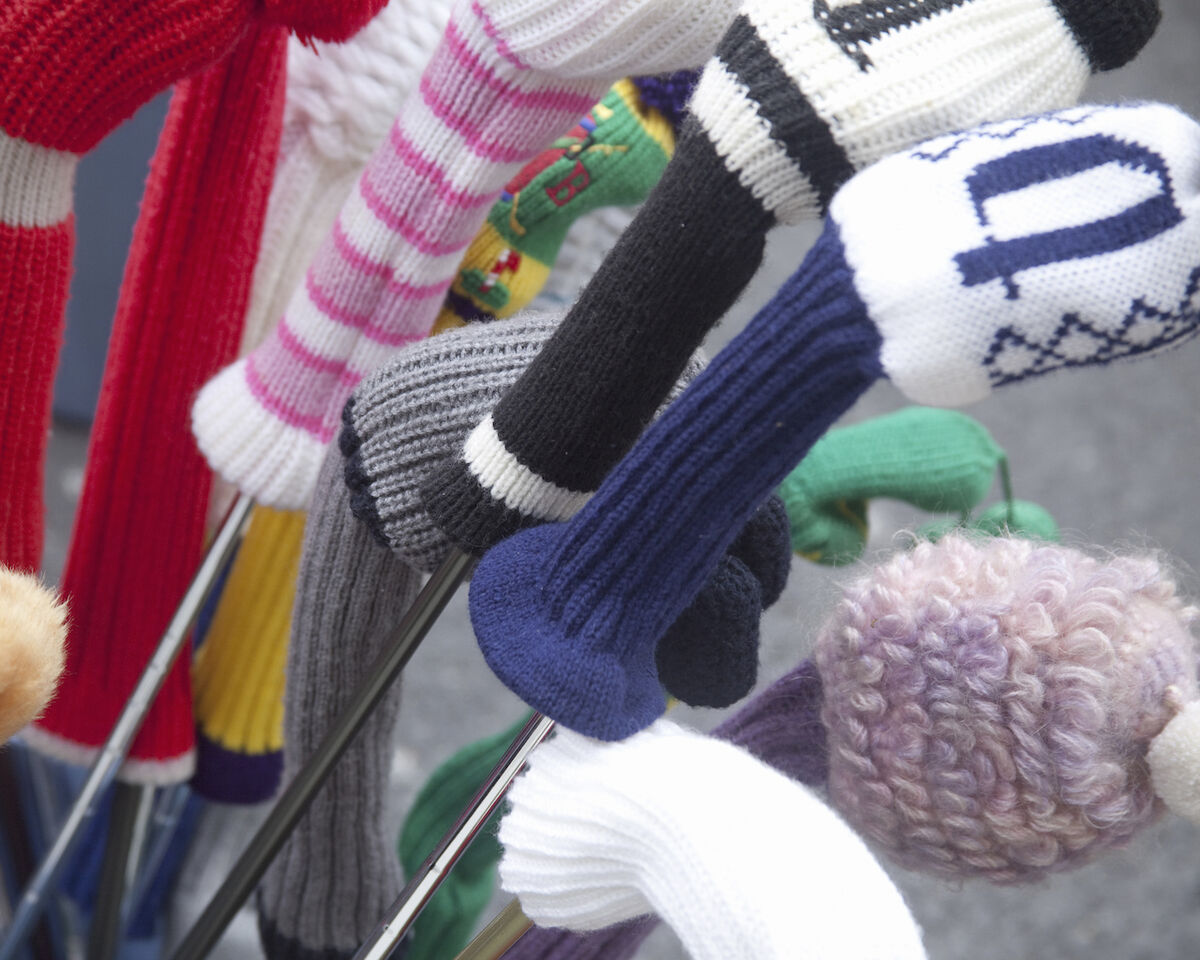
- Label the tops of the club covers with stick-on decals so you'll be able to quickly choose the club you want. For instance an 8-iron, 3-wood, putter and sand wedge might be labeled 8I, 3W, P and SW.
Advertisement
How to Make Fun Animal Golf Head Covers
If you're looking for something a little more fun, you can make your own animal head covers using old things that you might already have lying around the house.
Difficulty: Moderate
- Pick out some old stuffed animals. You can use old ones that you've been planning on recycling or donating anyway, or you can find cheap ones at many thrift stores. The important thing to keep in mind when picking them out is that the stuffed animal will actually serve as the top of the club cover, so you should pick toys of specific sizes. The best ones will have heads that are just a little bigger than the club head. Smaller stuffed animals that are about the size of a club head all by themselves tend to work well, too. If you have one that is in-between, you may be able to use part of the toy, such as a teddy bear from the arms up.
- Use heavy scissors to cut the stuffed animals into club cover tops. If you have a larger stuffed animal with a head that is about the size of a club cover, cut the head off and remove the stuffing. If you have a smaller one that is the size of a club head by itself, cut the largest neat hole you can cut in the bottom and pull the stuffing out. You can get creative with how you want to cut them, just keep in mind that they must be large enough for a club head to fit in the hollowed-out portion, and the opening must be large enough for the club head to fit through easily.
- Cut a tube sock in half where the ribbed upper neck meets the heel. The ribbed neck is the part you want to use. Cut several more of these--one for every club cover you want to make.
- Glue the cut end of each tube sock to the inside of the hole cut in the bottom of each stuffed animal. It's best to do this a little at a time. Apply a short line of fabric glue along the cut edge of the sock; then press the glue against the inside of the stuffed animal just above the hole you cut. Hold the two pieces together for a few moments until the glue hardens; then apply another line of glue to the sock next to the section you just glued. Hold that section of the sock against the inside of the stuffed animal until the glue dries; then continue working your way around the circumference of the sock in that fashion until it is glued all the way around. Let the glue dry completely.
- Slide the club covers onto your clubs once the glue has finished drying. Choose the covers that are a little roomier for your driver, and use the smaller one for your putter.